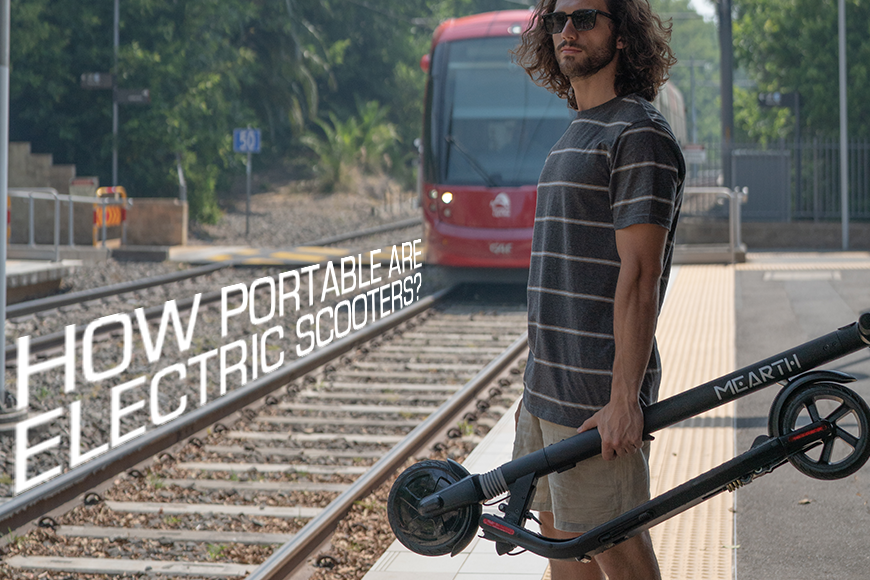
If you own a Mearth GTS and need to change your tyres, this how-to guide will teach you how to change e-scooter tyres for easy electric scooter tyre repair.
This guide specifically shows how to replace the electric scooter back wheel. This guide will give detailed instructions step-by-step such as taking it apart, replacing the tyre tube, and assembling it back again.
Before proceeding to the instructions below, please know that these instructions are meant for an experienced mechanic to follow. If you are not an experienced mechanic, please do not attempt to do this yourself. It can be dangerous.
Click here if you prefer a video tutorial instead.
How to change e-scooter tyres for the Mearth GTS
Follow these detailed but easy steps below to change your Mearth GTS tyres. Remember to use the right tools to prevent any damage to the e-scooter and to keep you safe.
1. Remove the nut and washers on one side of the tyre.

Using a spanner, turn the nut counter-clockwise to remove it, and then pull out the washers.
2. Unfasten the nut and remove the rear fender on the other side.

Next, turn to the other side of the e-scooter tyre, and remove the nut. Removing the nut also helps remove the rear fender.
3. Cut the wire tyre carefully

Use a cutter to cut the wire tyre carefully. Make sure that you’re cutting the right wire before proceeding.
4. Pull out the e-scooter wheel

Now, you can remove the wheel easily by pulling it out of the hook that’s holding it.
5. Remove the 6 screws on the wheel

Next, lay the wheel down on a flat surface and remove the 6 screws on the disc.
6. Take off the nozzle cap

Then, remove the nozzle cap, and use a small stick to push the nozzle. Release about 50% of the tyre’s air.
7. Take out the outer screws and the silver ring

Next, remove the 6 outermost screws on the wheel. After unscrewing, this allows you to take out the outer silver ring.
8. Pull out the e-scooter tyre from the hub

Pull out the tyre from the hub. Take it out slowly and carefully to prevent any damage from the tyre and hub.
9. Take out the tube from the tyre

Pull out the tube from inside the tyre. Start pulling from the nozzle to take out the tube.
10. Place the tyre in the right direction, and insert the new tube inside.

Before replacing the tube with a new one, make sure that the arrow on the tyre is pointing to the front of the e-scooter. Then, you can insert the new tube inside the e-scooter tyre.
11. Pump the tube

Fill the tyre until it is 70% full.
12. Align the nozzle to the hole in the hub

Align the nozzle to the hole in the hub, and push the nozzle inside. Make sure that the tube is staying inside the tyre as you put the hub inside the tyre.
13. Place the silver ring back

Next, place the silver ring back, and insert the six outer screws. Screw them back tightly into the wheel to secure the silver ring.
14. Place the disc back on the wheel, and insert the screws and washers

Put the disc on the wheel again, and make sure to align it to the hub’s screw holes. Then insert the 6 screws tightly, and place the washers back into the centre of the hub.
15. Put the wheel back carefully, insert the washers, and screw the nut back

Put the wheel back into the hook carefully. Then, insert the washer and nut into position. Then screw the nut tightly using a spanner to secure the wheel.
16. Insert the washer, rear fender, and nut on the other side.

On the other side of the wheel, place the washer first, and then insert the rear fender. Lastly, insert the nut and tighten it using a spanner. Make sure to adjust the fender to its proper position.
17. Test the wheel’s acceleration and braking

After assembling all the components, test the acceleration and braking. Make sure that it is 100% safe and secure before using it again. If anything is not tightened or assembled properly, it can be dangerous.
18. Finally, put a cable tie around the cables

Finally, when you are sure that the wheels are functioning properly, tie a cable around the cables to secure them. Then, cut the excess cable tie.
If you’re not sure how to replace your e-scooter tyres, feel free to contact Mearth’s friendly technician for help! You can also request a repair via Mearth’s website. Simply fill out the form, and a customer representative will attend to your needs shortly.
For any other concerns, you may contact support@mearth.com.au.


Leave a comment
This site is protected by hCaptcha and the hCaptcha Privacy Policy and Terms of Service apply.