Before you decide to buy an electric scooter online, it’s best to know how to replace some of its parts, especially if you don’t have a local mechanic nearby. It will prepare you to repair it immediately, especially in emergencies.
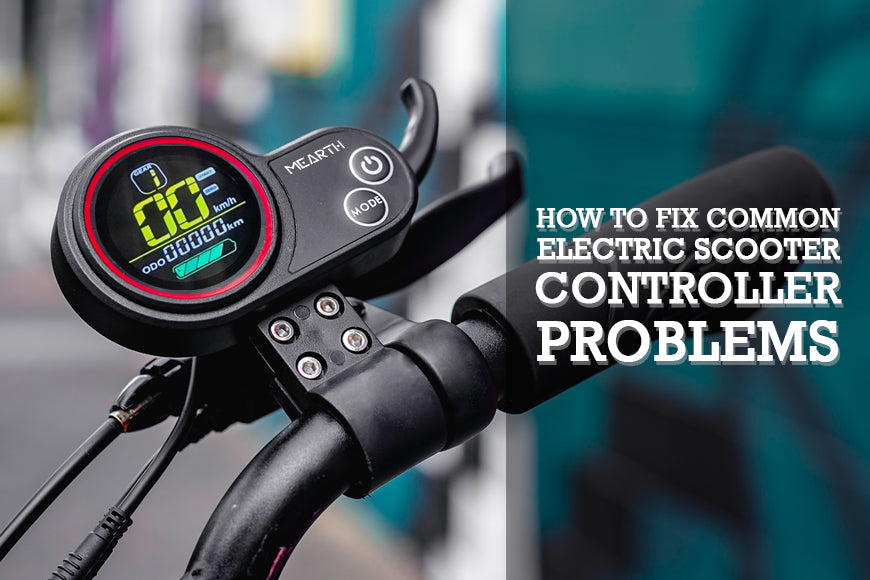
One of the most common electric scooter issues that owners encounter is a faulty electric scooter speed controller. Electric scooter controller issues can range from a noisy motor to a stopping engine which is inconvenient and dangerous on the road. When you encounter these problems with your adult electric scooter, choose to replace the controller instead.
When to Replace an Electric Scooter Controller
Replace your controller if you experience the following situations:
- The controller has excessive water damage.
- It has many wire troubles.
- It can no longer be fixed.
- The controller is no longer responding.
How to Replace an Electric Scooter Controller
Follow this step-by-step guide to help you replace your faulty electric scooter controller.
Reminders
Before starting, keep the following reminders in mind:
- Wear protective gear, such as gloves and an eye shield, to protect yourself while handling the components.
- Always handle the wires and components with care to avoid damaging them.
- If a component malfunctions while testing the e-scooter and you don’t know how to fix it, seek the help of a mechanic immediately.
- Fixing a component or malfunction that you are not familiar with can be dangerous.
Prepare the tools and the new speed controller
Before starting, have the new speed controller and the electric scooter controller wiring diagram on hand. Make sure it is the same voltage, power output, and size as the original controller. As much as possible, buy from the same manufacturer or retailer to avoid fake or faulty controllers.
For the tools, have a few Allen keys or screwdrivers available that fit the size of the screws of your e-scooter.
Place the e-scooter on a flat and elevated surface
Put your e-scooter on top of a table or flat elevated space to make it easier to access the underside of your electric scooter.
Remove the battery cover of your electric scooter
Most electric scooter controllers lie underneath the deck and within the wires of your e-scooter. Often, it is found beyond the batteries, so you would need to remove your battery cover and remove the battery. It may take time to unscrew or remove the battery cover depending on the design of your electric scooter.
Remove the battery to access the controller
Before removing the battery, make sure to turn off the power switch or key switch. Then, disconnect and remove the battery cables and other wires. Be careful when taking the cables out to prevent any damages to the wires. Then, gently remove the battery.
Some electric scooter models will already show the controller after removing the wires, so there’s no need to pull out the battery.
Disconnect the wires attached to the controller
To remove the speed controller, carefully disconnect the wires connected to the controller one at a time. Follow the line from the controller to the end of the line to ensure that you disconnect the correct wires.
It’s recommended to take a photo of the connected wires before removing them so you have a reference of the correct wiring sequence.
Attach the new speed controller
First, check if your new controller will fit inside the e-scooter. If you bought the exact controller for your e-scooter, there will be no problem. However, if you bought a different brand or model, make sure it will be compatible with your e-scooter.
Once you see that it fits, start to connect the wires to the new controller. Refer to the photo you took to ensure that you attach the correct wires. Start attaching the motor wire and then the rest of the wires. End with attaching the power cords to the battery.
Be careful not to short-circuit the wiring harness connector pins or the battery terminals. Make sure all of the wires are in good condition.
Test the electric scooter
Once everything is attached correctly, test the electric scooter if all the parts are working properly. Test the e-scooter before you tuck away your controller so you can still tweak the controller if it needs adjustment.
Turn the power on and check the display, acceleration, brakes, brake lights, lights, and other components of your electric scooter. Do this while your e-scooter lies down flat on an elevated surface. This way, your rear wheel is off the ground when you test it. Note that the rear wheel may spin uncontrollably if there is any faulty or incorrect wiring with your controller.
If any components malfunction, go back to your electric scooter speed controller and check the wirings. Make sure the correct wires are attached to the correct connectors, and all wires are in good condition and attached securely.
Place all the components back together
If there are no malfunctions with your e-scooter, place the controller, battery, and wires back into the deck. Make sure to place them in the correct order. Make sure all components fit snuggly and continue to be careful in handling the parts.
Screw on the battery cover and make sure all screws are complete and placed tightly.
Finally, turn on your electric scooter and do one final test to ensure that all components are functioning. Again, call a professional if you are unable to replace an electric scooter controller or fix an e-scooter malfunction.
Learn more about the most common electric scooter issues and how to fix them. For more electric scooter repair guides, check out Mearth’s blogs.
If you need to repair your Mearth electric scooter, you may request a maintenance or repair via our website. Complete the form and wait for a representative to reach out. Meanwhile, check out our available Mearth electric scooter parts and accessories.


Leave a comment
This site is protected by hCaptcha and the hCaptcha Privacy Policy and Terms of Service apply.